 Lecture Video Recording Guide
 Video Quality Requirements for Recorded Lectures
A short visual guide: how to prepare for recording, what to watch for in the shot and in the presentation, and what to do if you make a mistake while recording.

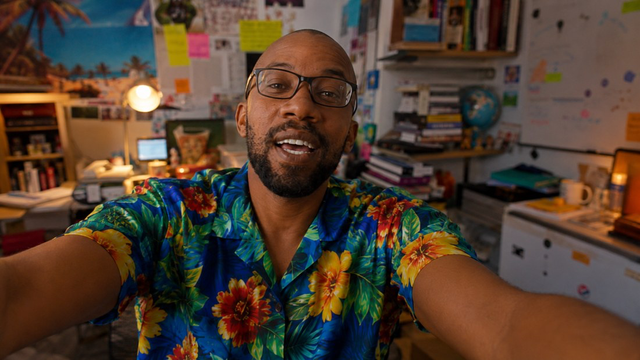
Light, neutral, no patterns or unrelated objects in frame
Stable, even, no harsh shadows or flicker
Lavalier or portable microphone with noise reduction
Video no lower than 1080p — professional studio or OBS
The other half is reserved for the presentation — keep this in mind when choosing your shot and position in frame.
Recording should be done through the presentation, or in a way that allows the presentation to be overlaid on the instructor's image during editing.
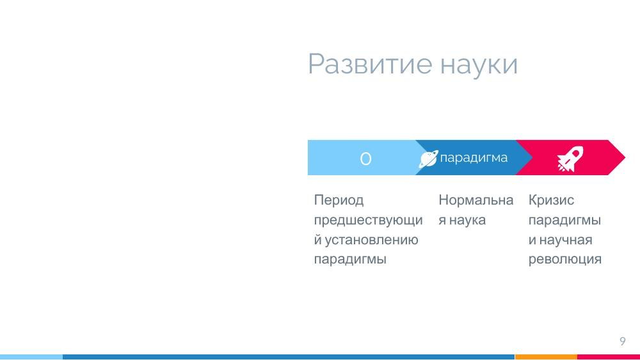

Content should be concise — only the key idea, no walls of text.
Headings — 28 to 32pt. Slide text must be readable on video.
The slide illustrates and structures the material — it is not a subtitle track for your speech.
Every slide includes a block with your full name, academic degree (if any), and the course title.
Record a fragment of the rights-transfer declaration — this clip will become the first video in the course and also serve as a pilot recording for quality review.
Send the test recording to the course content development manager. Continue filming the course only after the sound, lighting, background, and image quality have been approved.
One video per topic or subtopic, 15–20 minutes long.
Don't continue the same take. Stop recording and start again from the same section — this makes it clear to the editor what to cut.
The finished video is accompanied by timestamps for topics/questions and subtitles.
Prepare a full text version of the final content of all video lectures, formatted as printable lecture notes.